Description
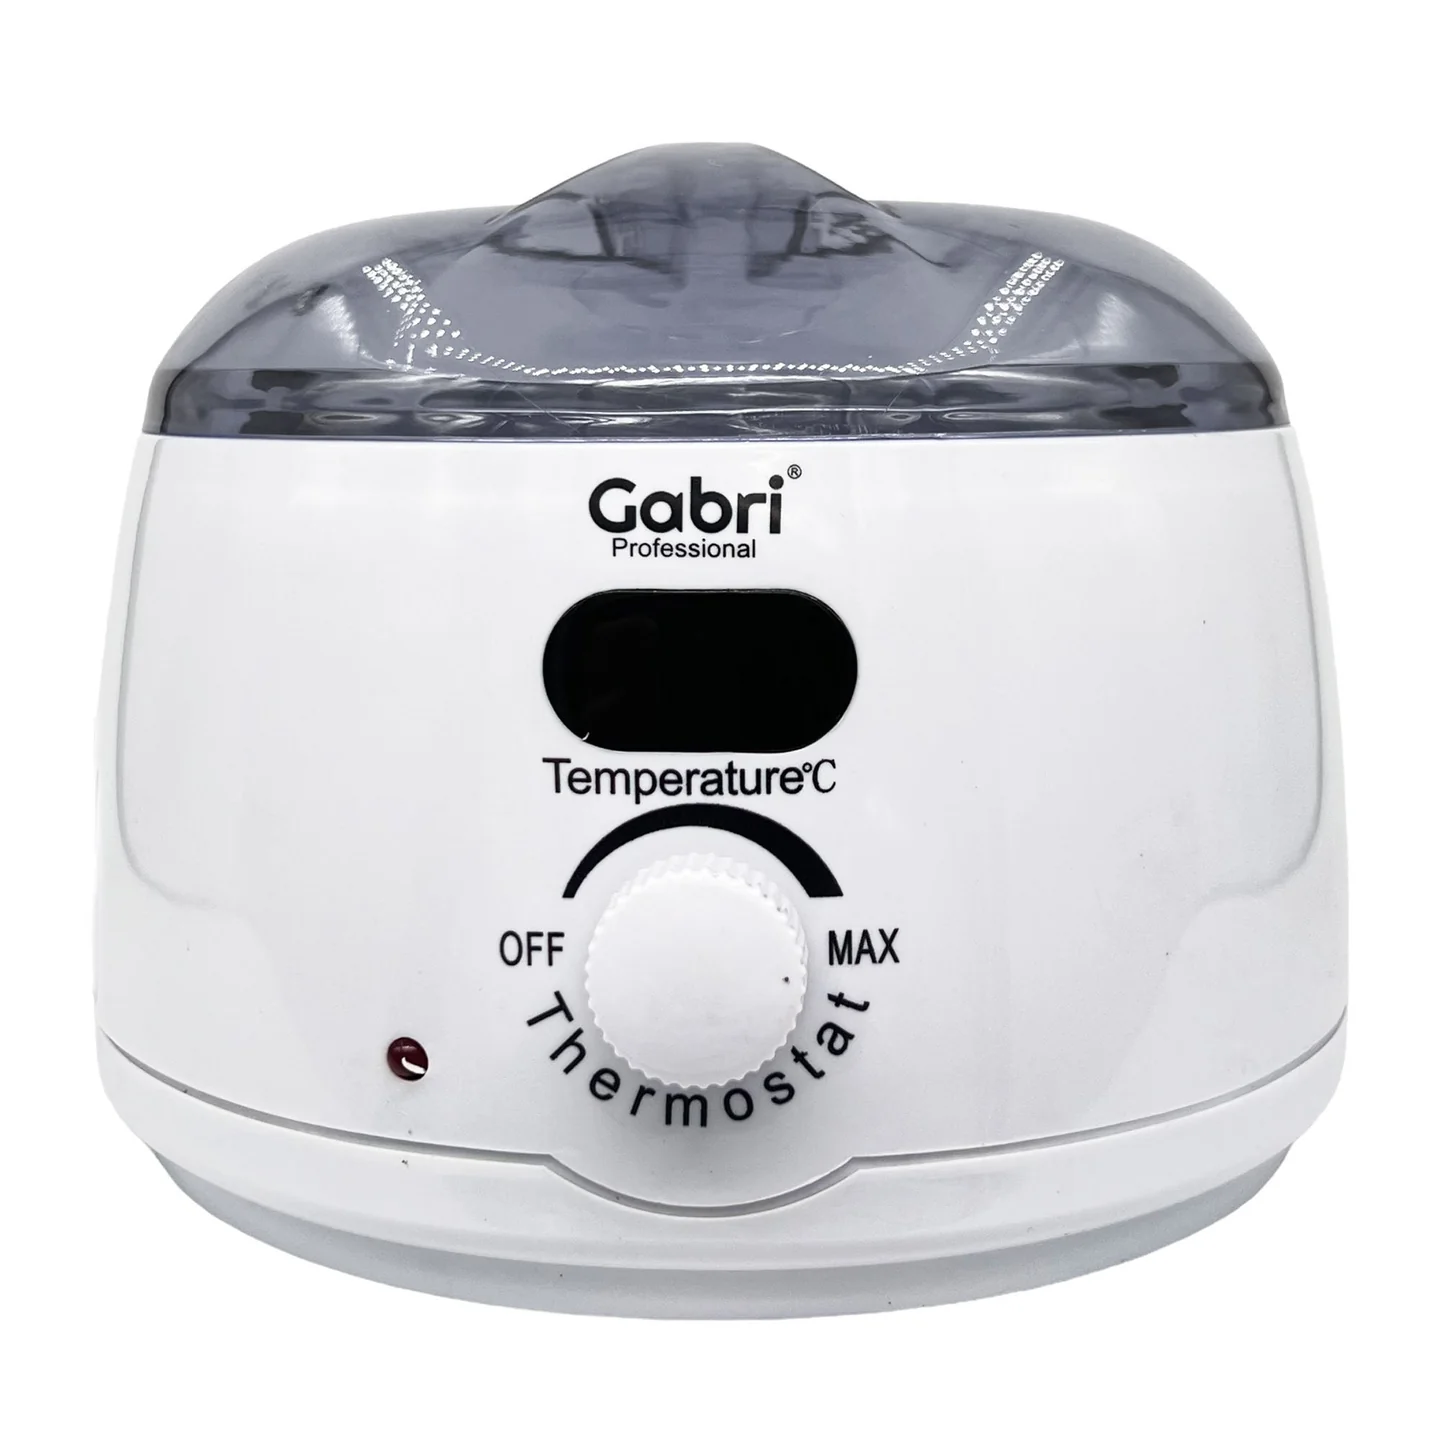
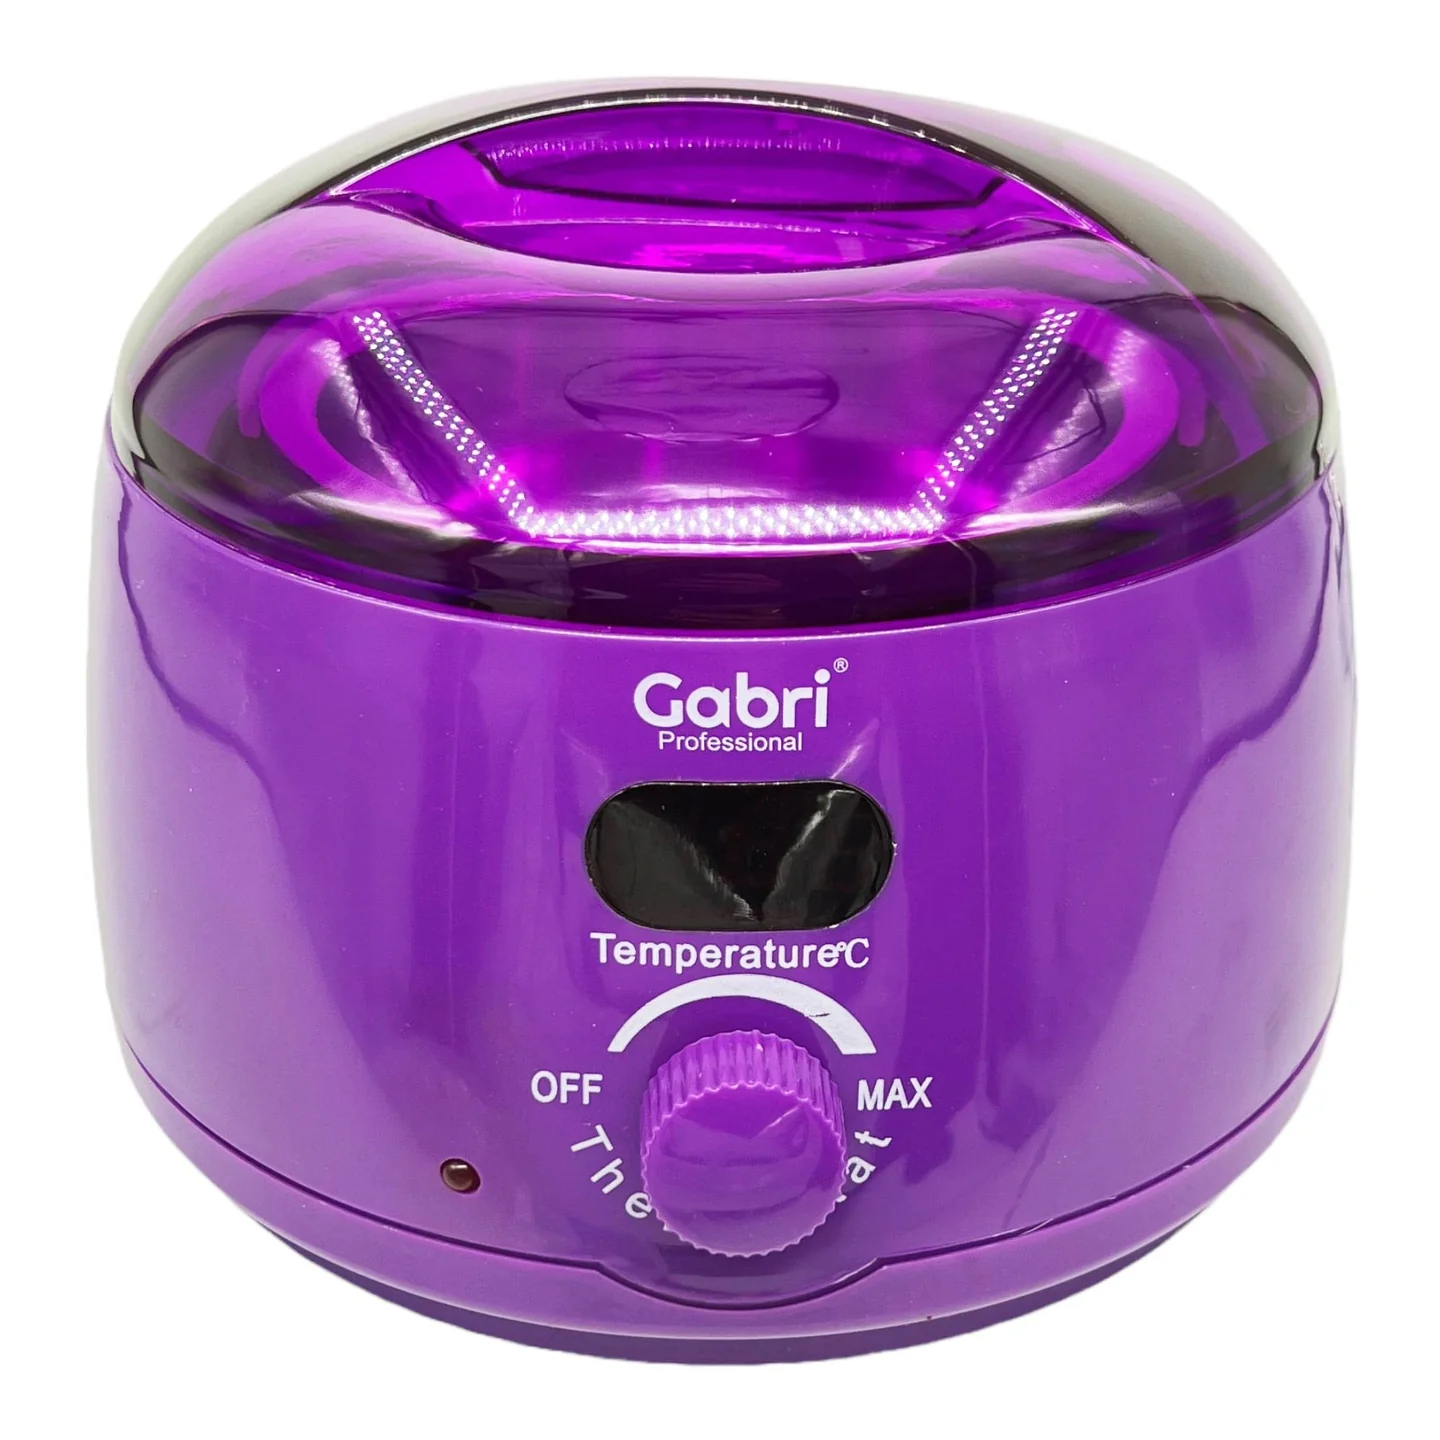
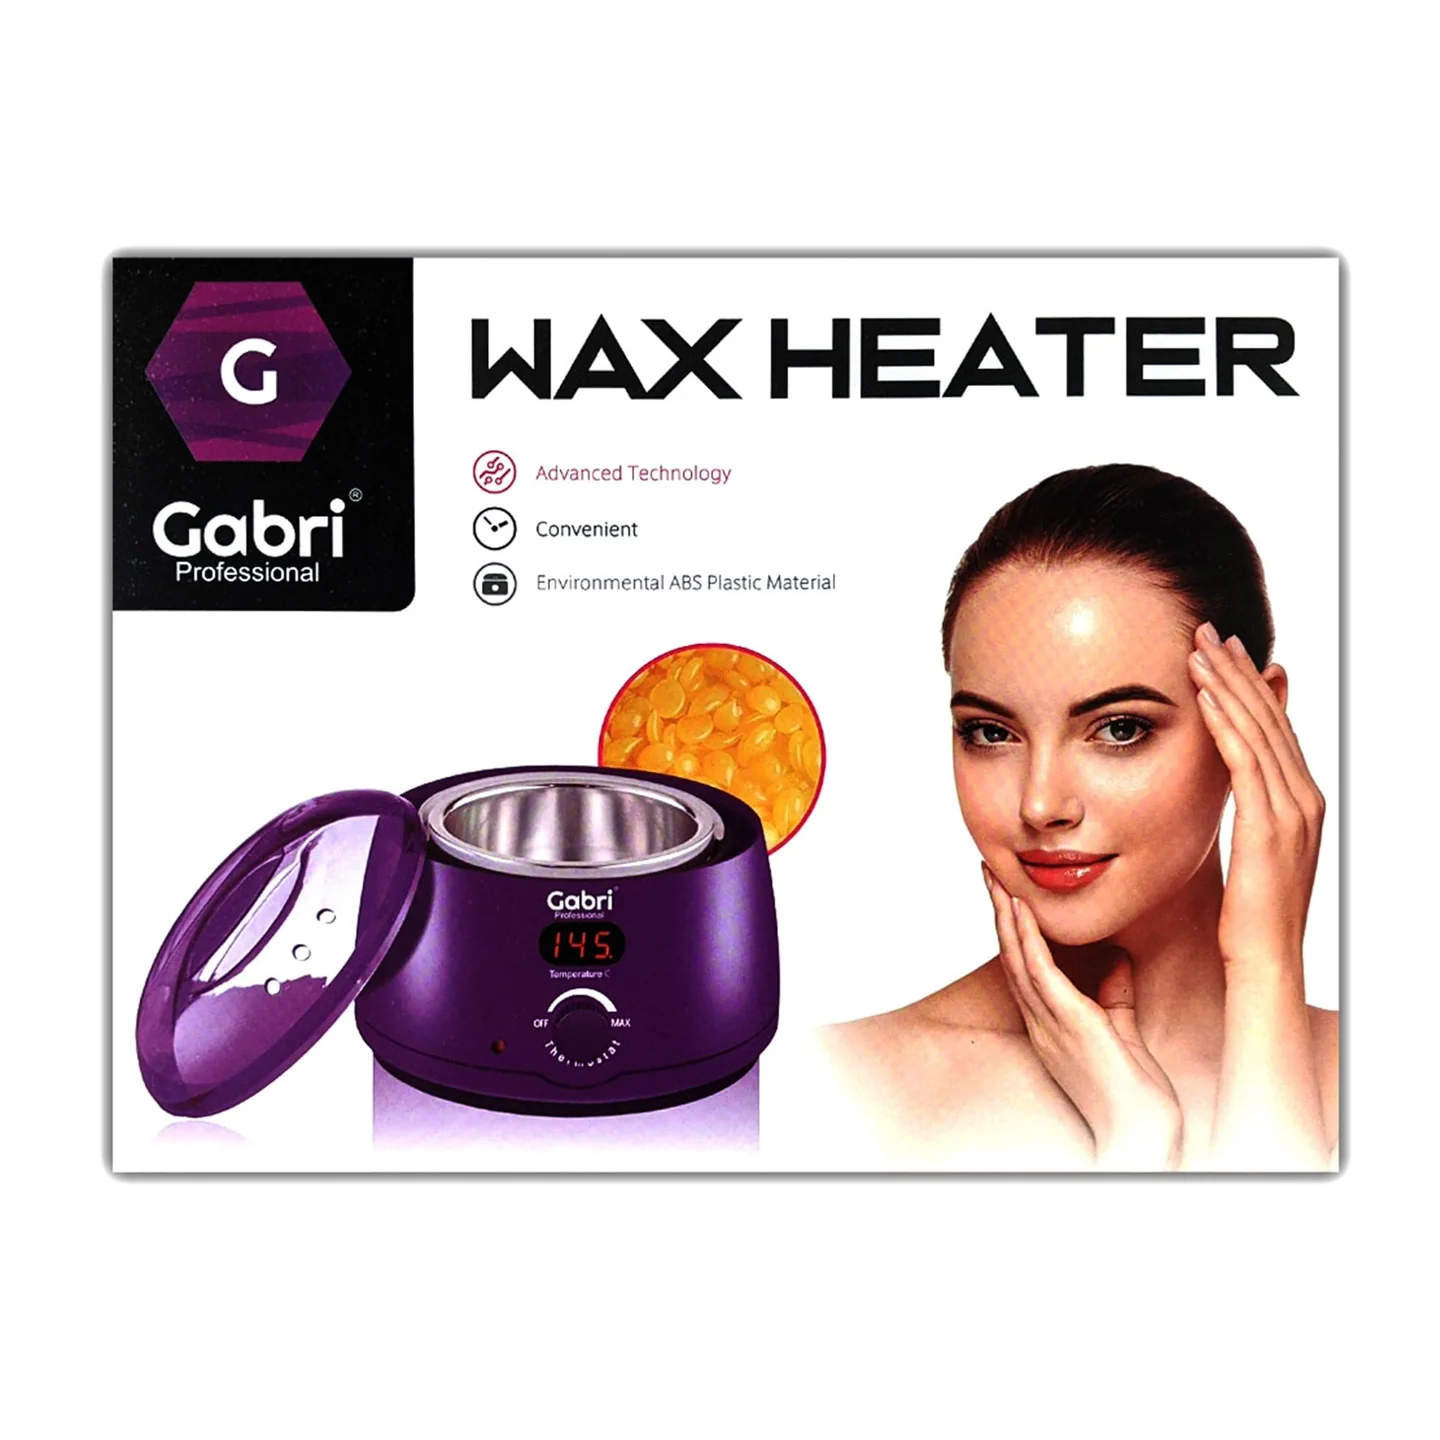
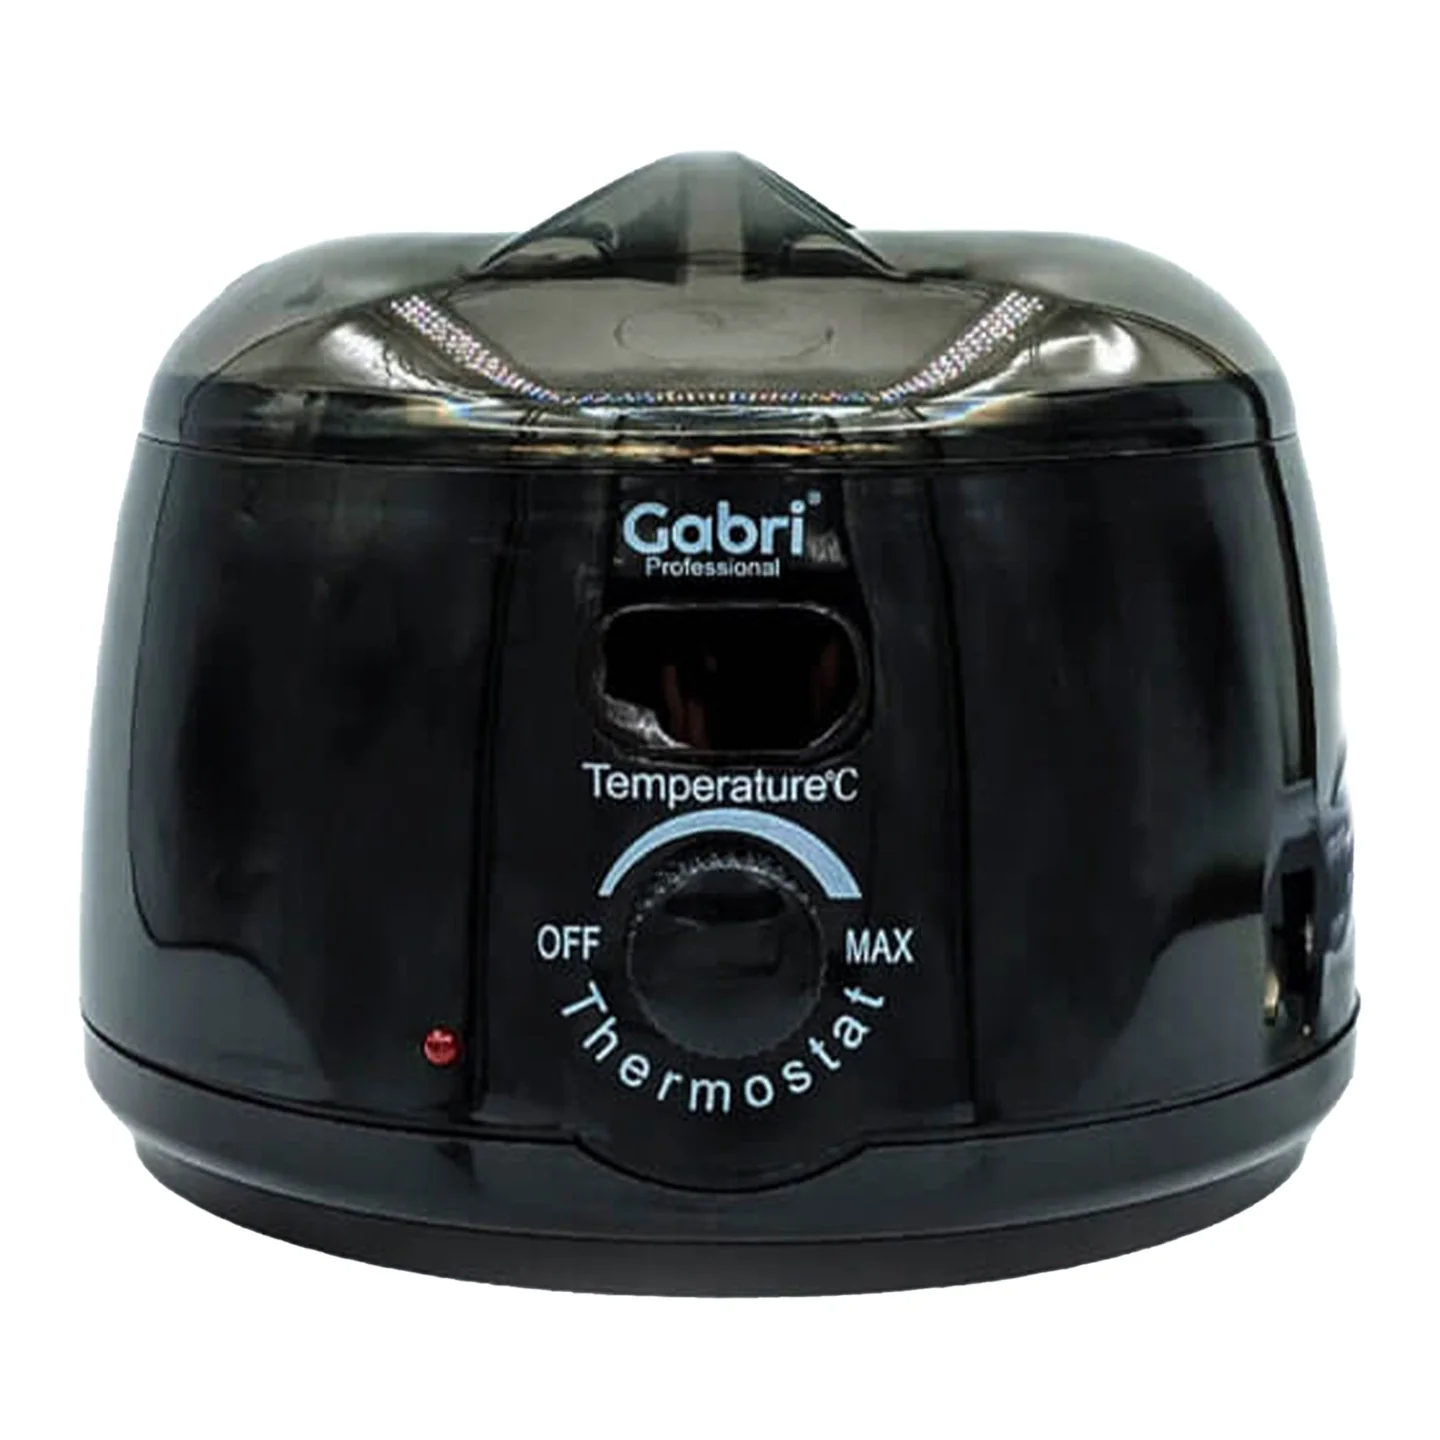
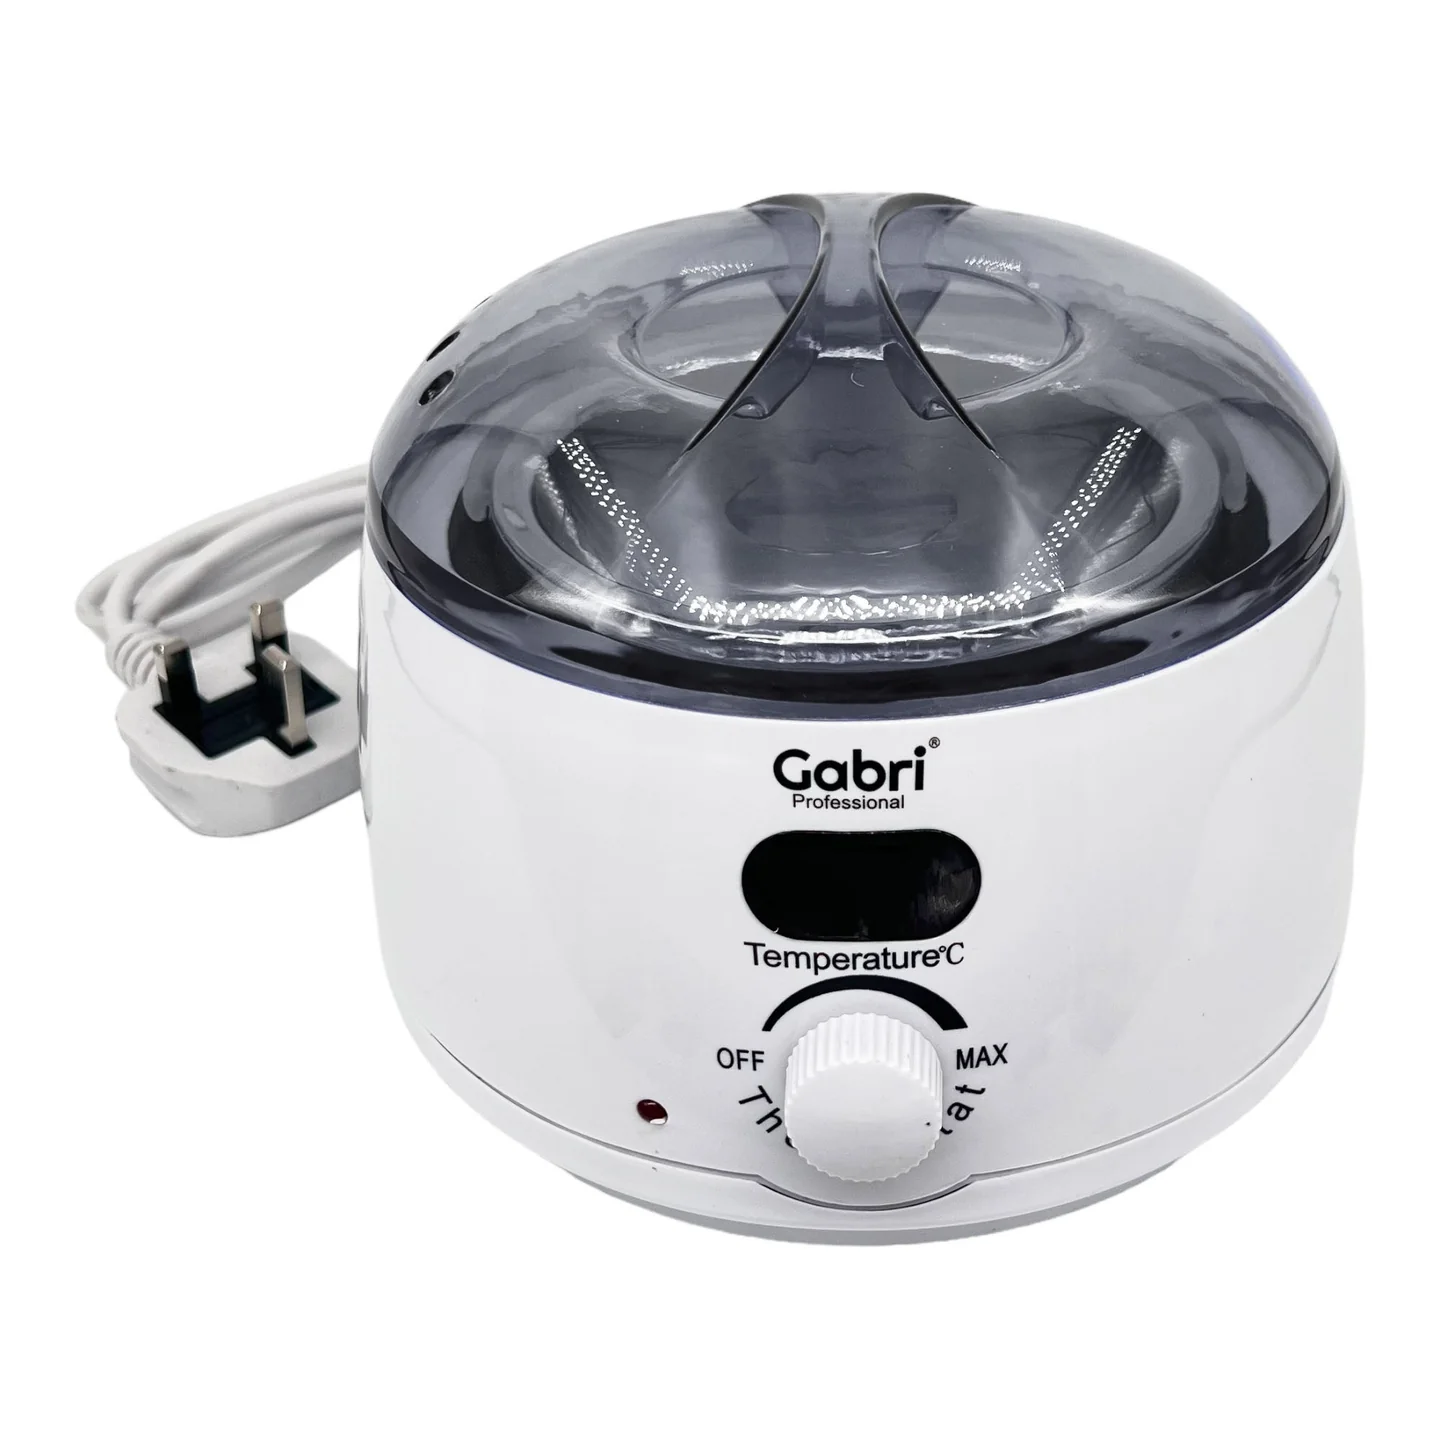
The Gabri Single Pot Wax Warmer with temperature control is a popular choice for both home and professional waxing due to its precise heating capabilities and user-friendly design.
Here’s a breakdown of its features, how to use it, and other relevant information:
Key Features of the Gabri Single Pot Wax Warmer with Temperature Control:
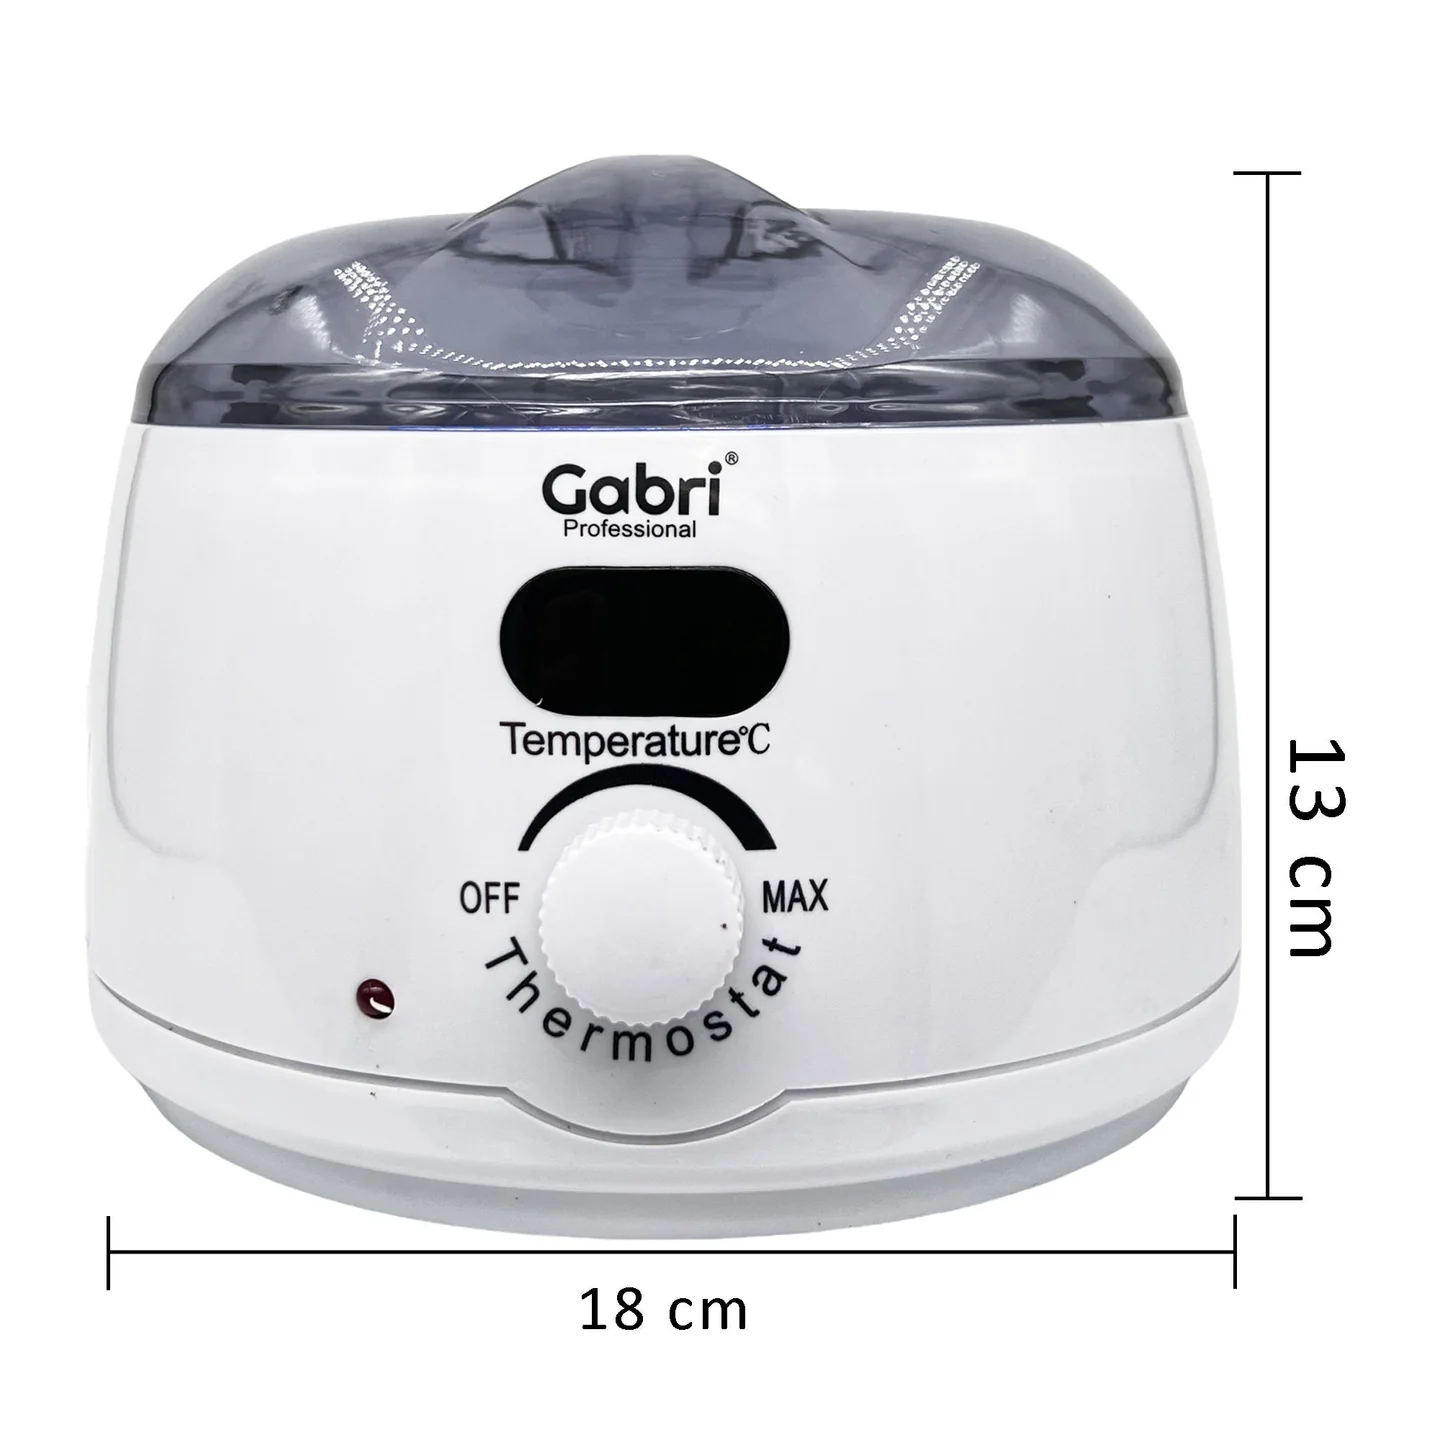
- Precise Temperature Control: This is the defining feature. Gabri wax warmers typically come with either an adjustable dial or digital controls, allowing you to set the exact temperature needed for different wax types (hard wax, soft wax, wax beads, sugar wax, etc.). Some models offer a temperature range up to 85°C (185°F) or even 105°C (221°F) for finer control.
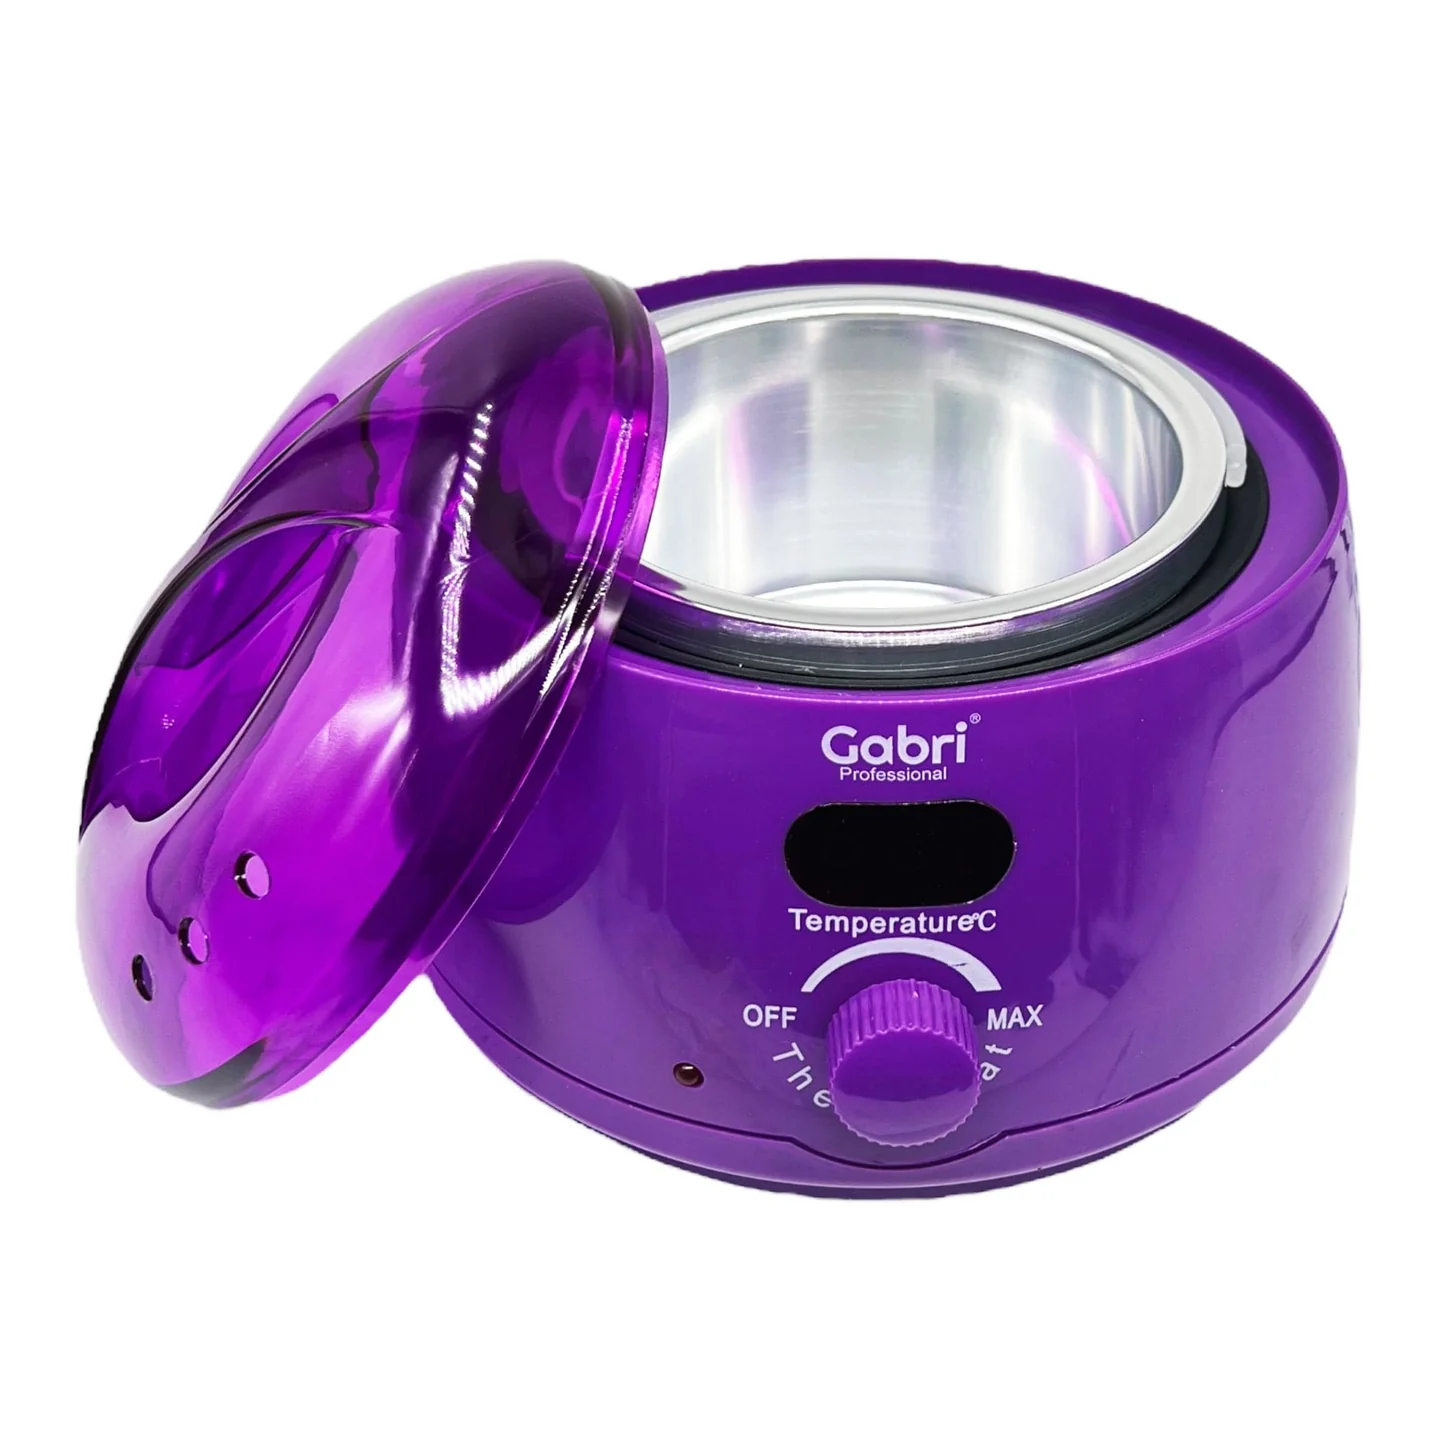
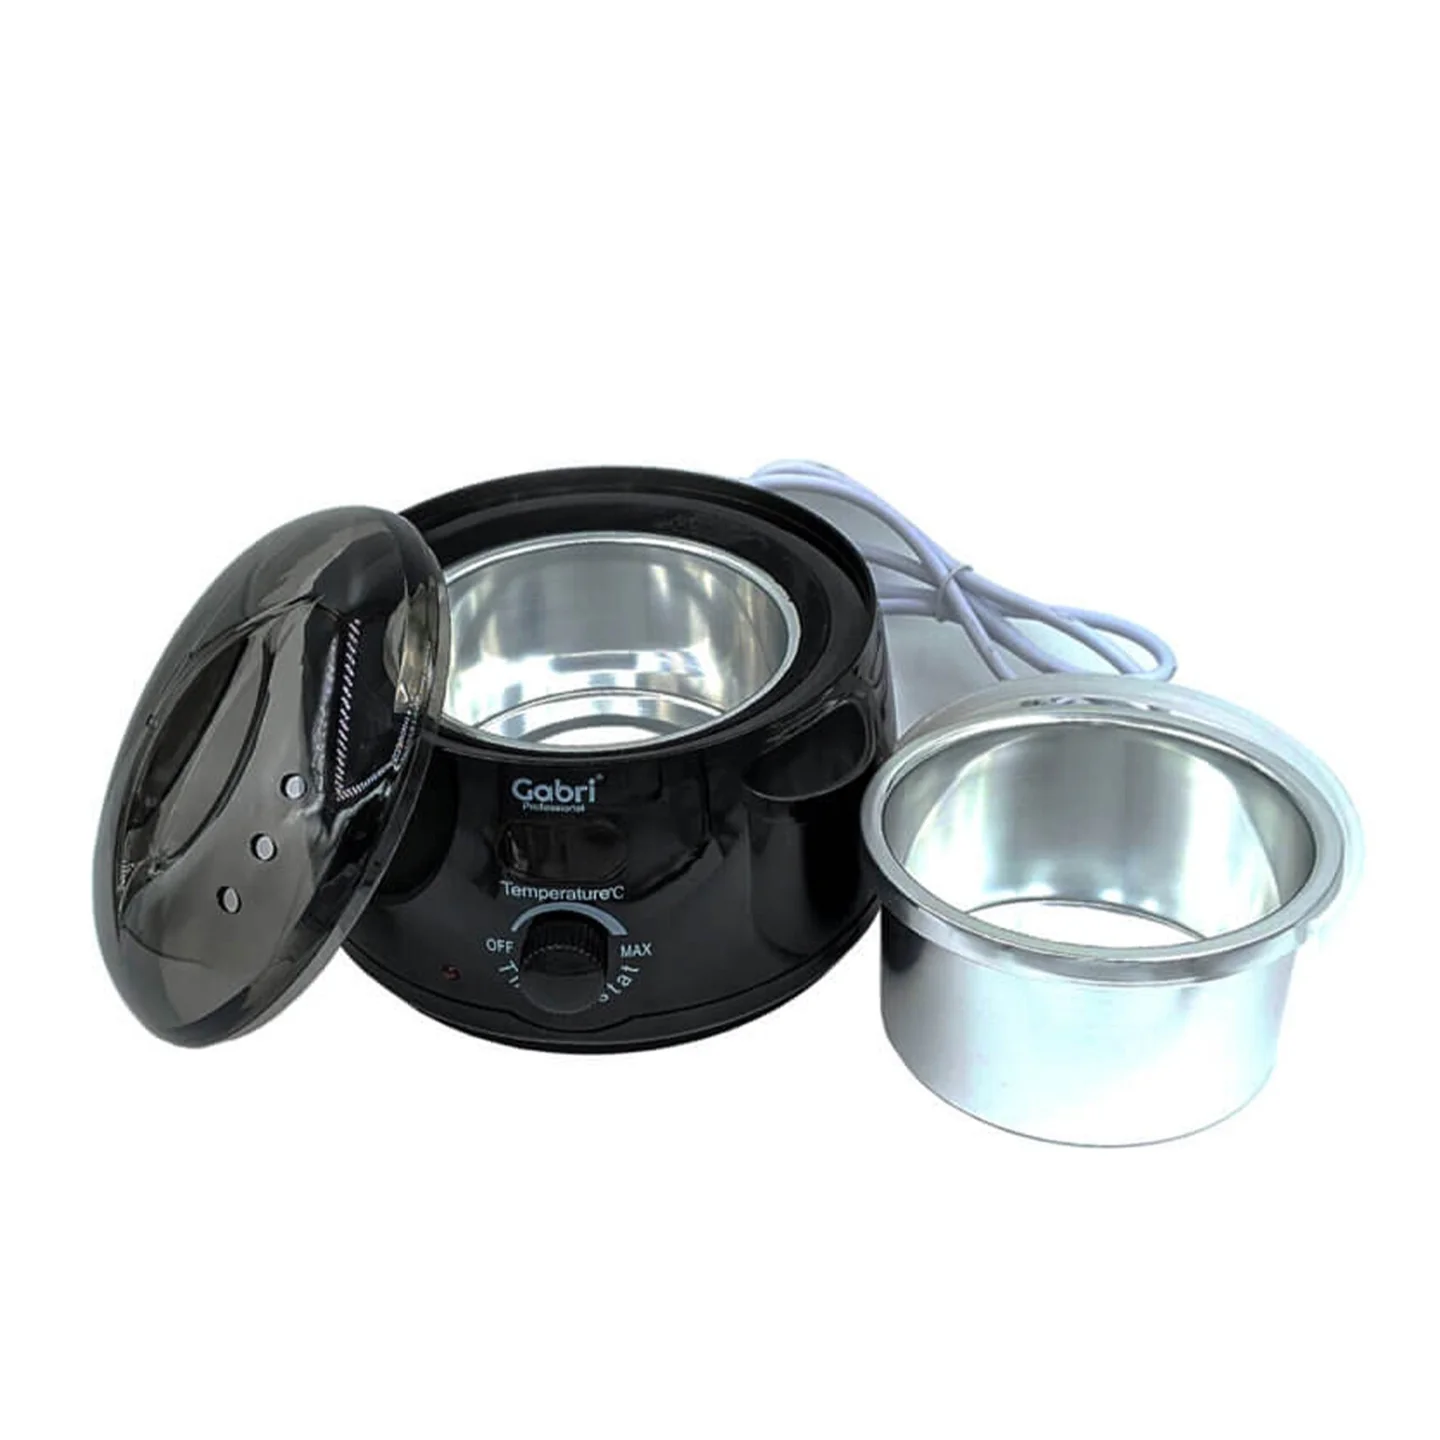
- Removable Aluminum Pot/Liner: Most Gabri warmers include a removable pot, often made of aluminum, which makes for easy wax changes and simplifies the cleaning process.
- Transparent Lid: A clear lid allows you to monitor the wax as it melts without needing to open the warmer, helping to maintain heat and hygiene.
- Durable Construction: These warmers are often built with a robust metal housing or heat-resistant ABS material, providing durability and efficient heat retention.
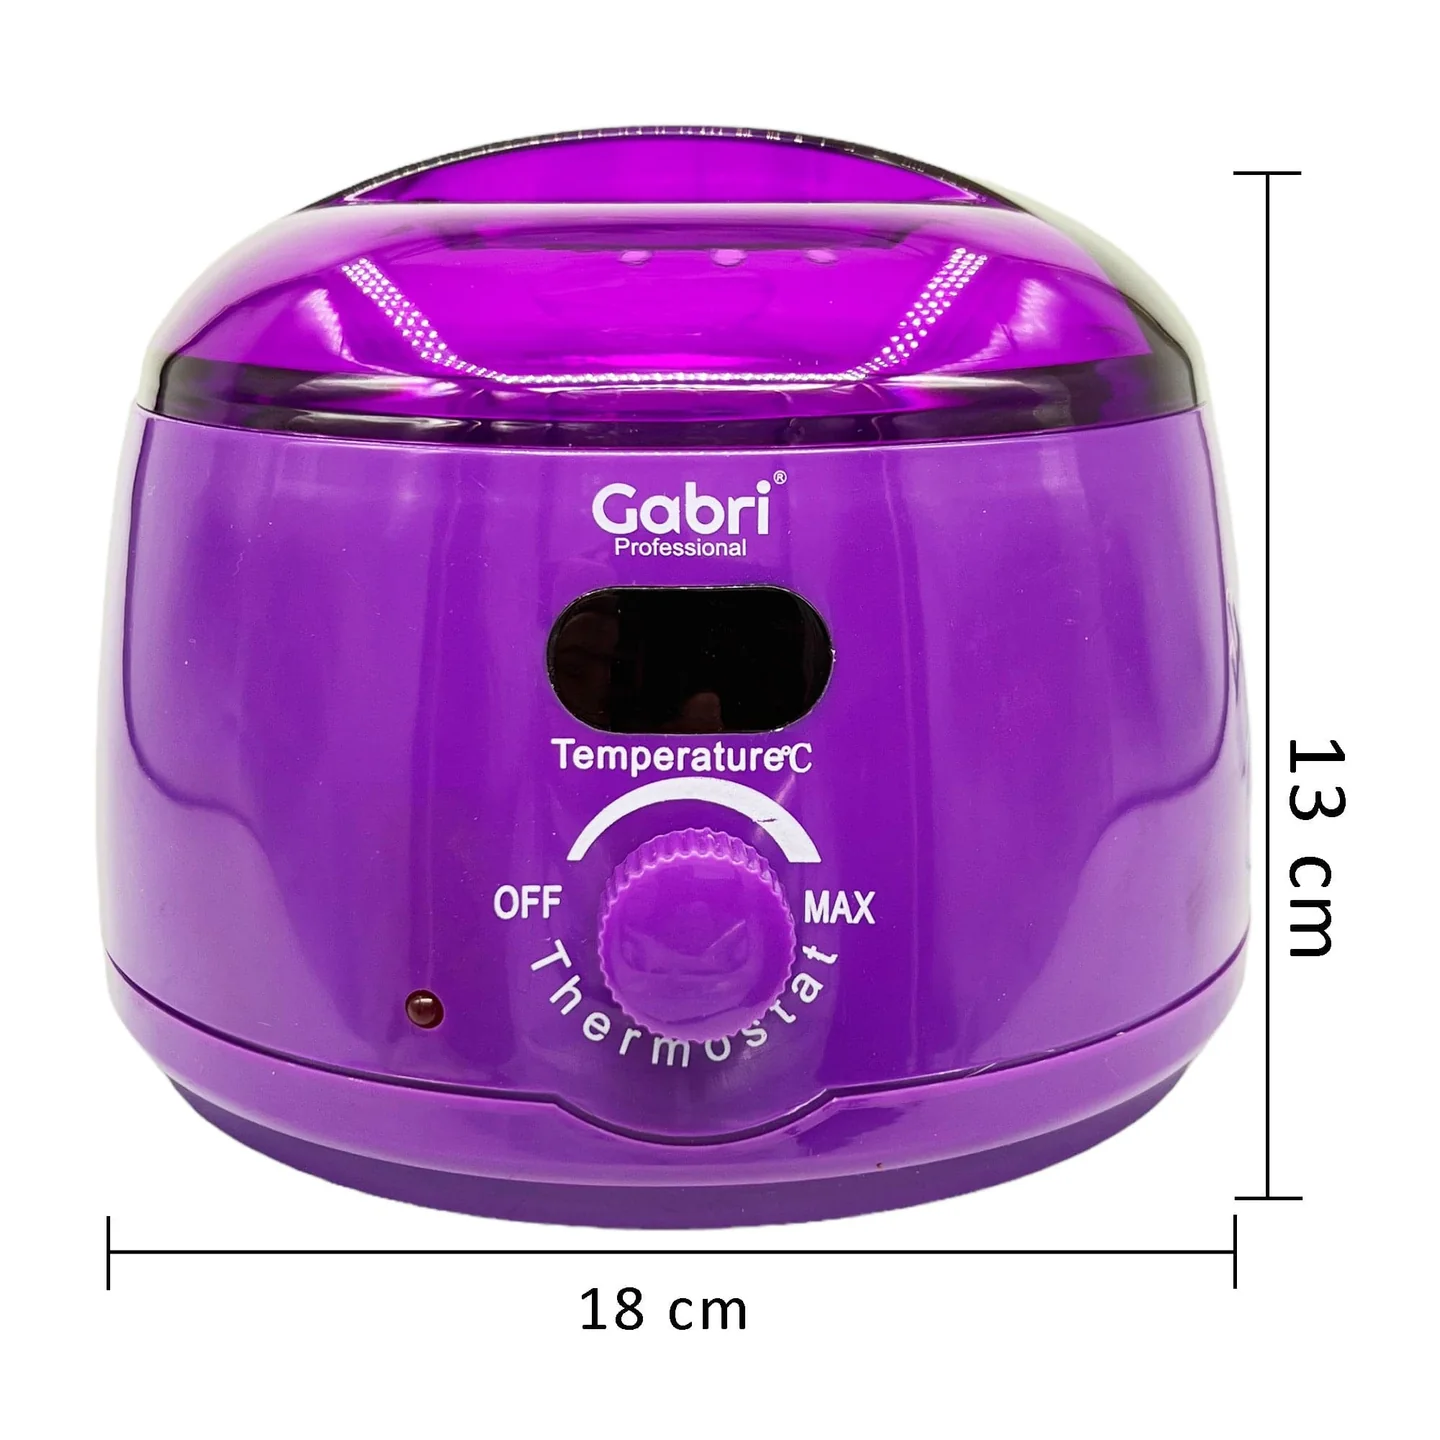
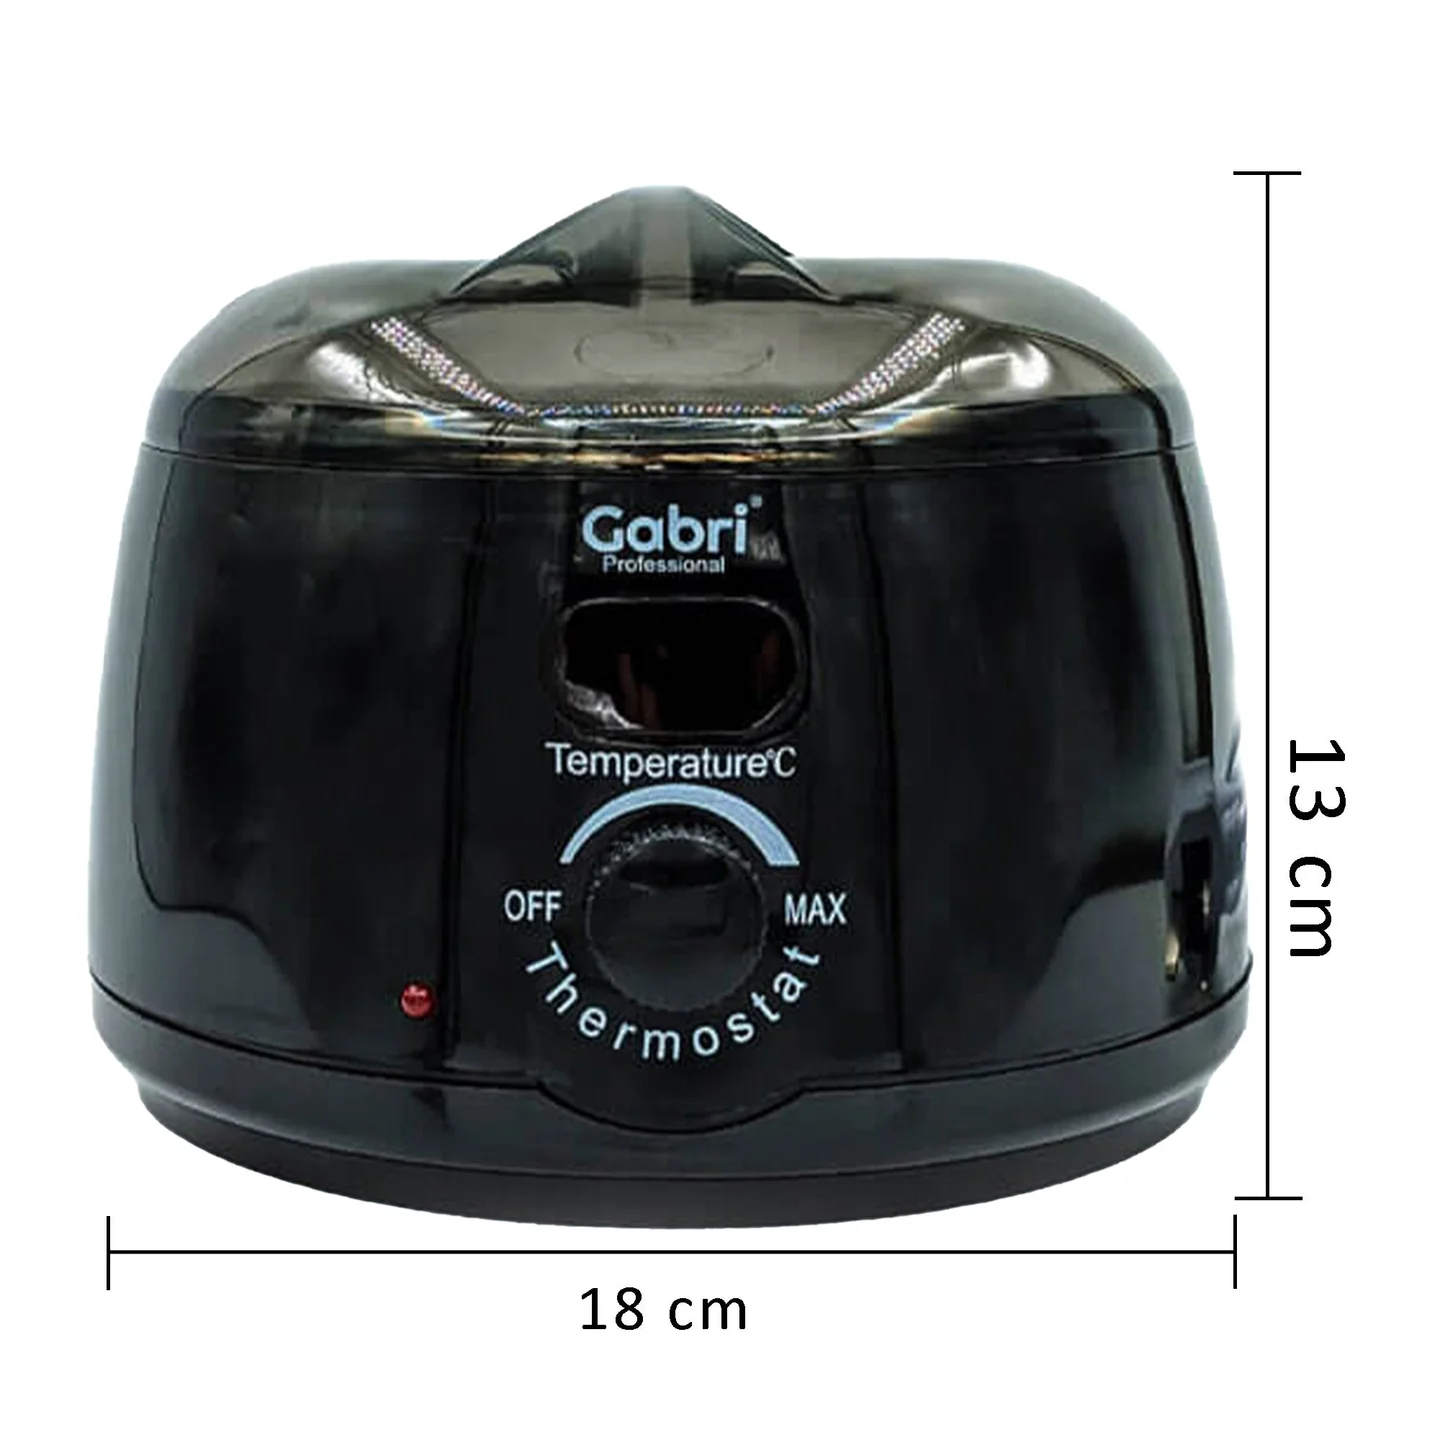
- Compact Design: With dimensions typically around 18x18x12cm (or similar), they are space-efficient and suitable for various settings, from small home bathrooms to professional salon stations.
- Safety Features: Common safety features include a power indicator light, non-slip rubber feet for stability, and some digital models may even have auto shut-off protection.
- Capacity: Many single pot models have a capacity of 500ml (16.9 fl oz).
- Color Options: They are often available in classic colors like black, white, and sometimes purple.
How to Use:
- Placement: Set the wax warmer on a stable, flat, and heat-resistant surface.
- Add Wax: Place your preferred waxing product (e.g., wax beads, hard wax blocks, soft wax) into the removable aluminum pot or liner.
- Power On and Set Temperature: Plug in the warmer and switch it on. Use the temperature control dial or digital display to select the desired temperature. The ideal temperature will vary depending on the type of wax you are using and its specific melting point.
- Melt Wax: Allow approximately 20-30 minutes for the wax to melt completely and reach a smooth, workable consistency.
- Test Temperature: Crucially, before applying wax to your skin, always test a small amount on an inconspicuous area (like your inner wrist) to ensure it’s a comfortable temperature and not too hot.
- Apply Wax: Using a spatula, apply the wax evenly to the area from which you wish to remove hair, following the direction of hair growth.
- Remove Wax:
- Soft Wax: Place a waxing strip firmly over the applied wax, press down, and then quickly pull the strip off against the direction of hair growth.
- Hard Wax: Allow the wax to cool and solidify slightly until it’s still pliable but no longer sticky. Lift one edge of the hardened wax and then pull it off quickly against the direction of hair growth.
- Post-Wax Care: Apply a post-wax oil or lotion to soothe the skin and remove any wax residue.
Cleaning Instructions:
- Cool Down: After use, turn off and unplug the wax warmer. Allow the unit and the removable pot to cool down completely.
- Remove Excess Wax: While the remaining wax is still slightly warm and soft (but not hot enough to burn), use a spatula to scrape out as much wax as possible into a disposable container (like a foil-lined bowl). Never pour wax down a drain.
- Wipe with Oil: For stubborn residue in the pot, apply a small amount of waxing cleaner oil (or even baby oil/mineral oil) to a paper towel. Wipe the inside of the pot thoroughly to dissolve and remove the remaining wax.
- Wash the Pot: Once most of the wax is removed, you can wash the aluminum pot with warm water and dish soap to ensure it’s completely clean and ready for the next use.
- Clean Exterior: Wipe down the exterior of the warmer with a damp cloth if needed. Ensure no water gets into the electrical components.

